Hello, my name is Alex and I am going to show you how to create a mod for minecraft forge 1.11.2. There's not a lot of tutorials on 1.11 so I am creating one for those that want to get started.
WARNING: IF YOU DO NOT KNOW ANYTHING ABOUT JAVA, PLEASE LEARN THE BASICS BEFORE ATTEMPTING TO FOLLOW ANY MODDING TUTORIALS!!!!!
In this tutorial we will be looking at setting up a block for ourselves. We will be creating an ore for our tutItem. Let's start by creating a new class in our handlers package, called BlockHandler. In this we will have all the same methods as our ItemHandler:
1
2
3
4
5
6
7
8
9
10
11
| public static void init(){
}
public static void register(){
}
public static void registerRenders(){
}
public static void registerRender(){
}
|
In our
registerRender() method, we need to add the parameter
Block block. This will allow us to create an item from our block and then render it in our inventory as an item.
1
2
| public static void registerRender(Block block){
}
|
Within this method we will add two lines of code:
1
2
| Item item = Item.getItemFromBlock(block);
Minecraft.getMinecraft().getRenderItem().getItemModelMesher().register(item, 0, new ModelResourceLocation(item.getRegistryName(), "inventory"));
|
This is gonna create an item from our block then render the block in the inventory. It works exactly like the item
registerRender() method.
Next we will want to create a block and an item block. So go ahead and add those two fields.
1
2
| public static Block tutBlock;
public static ItemBlock ibTutBlock;
|
We need to create an
ItemBlock so that we can convert the block from a block to an item for rendering in the inventory. In our
init() method, we will initialize our block and itemblock.
1
2
3
| tutBlock = new BlockTutBlock(Material.ROCK, "tut_block", CreativeTabs.BUILDING_BLOCKS, 5F, 15F, 3, "pickaxe");
ibTutBlock = (ItemBlock) new ItemBlock(tutBlock);
|
Let me break down what kind of set up we are doing here for the block initialization.
==========================================Explanation==========================================
Material.ROCK is our block material. Block Materials are very unique cause they determine how they are mined and what effects they have in the world. For example:
PORTAL is a block material that has no collision and when collided, it transports the player to another dimension.
CACTUS hurts the player, etc.
"tut_block" is our name, being the registry name, and the unlocalized name.
MAKE SURE YOU DO NOT CAMELCASE!!!!!!
CreativeTabs.BUILDING_BLOCKS is what creative tab our block will be found in. You can choose a variety of different creative tabs. Eventually we will create our own ;) *hint hint*
5F is the hardness. Diamond Ore is around this floating point, so our block is very hard.
15F is the resistance to explosions.
15F is a very resistant block. The higher the number, the more resistant. You can play around with this float until it meets your likings.
3 is the harvest level that is needed minimum to be mined. 3 is diamond tier, 2 is iron, 1 is gold and stone, and 0 is wood.
"pickaxe" is the type of tool needed to mine this block. You can choose from
"axe" to
"shovel" but we are choosing
"pickaxe" for obvious reasons.
Our ItemBlock init takes in a block, which is our newly created block. This will create an ItemBlock from it, as you can tell. We have to cast it to an ItemBlock so that we can register it as an item block later on.
=============================================================================================
Next step is to create a class for our Block, just as we called it in our code,
BlockTutBlock. Put it in a new package called
"com.<yourname>.tut.blocks". We will extend it to a new class called
ModBlock. In this, we will create two different constructors, one with a harvest level, and one without.
1
2
3
4
5
6
7
8
9
10
11
12
13
14
15
16
17
18
| public ModBlock(Material mat, String name, CreativeTabs tab, float hardness, float resistance, int harvest, String tool) {
super(mat);
setUnlocalizedName(name);
setRegistryName(name);
setCreativeTab(tab);
setHardness(hardness);
setResistance(resistance);
setHarvestLevel(tool, harvest);
}
public ModBlock(Material mat, String name, CreativeTabs tab, float hardness, float resistance) {
super(mat);
setUnlocalizedName(name);
setRegistryName(name);
setCreativeTab(tab);
setHardness(hardness);
setResistance(resistance);
}
|
These set the basics for our block and more depending on the constructor you're using.
Back into our
BlockTutBlock class, we will add the constructor needed to complete our initialization.
1
2
3
| public BlockTutBlock(Material mat, String name, CreativeTabs tab, float hardness, float resistance, int harvest, String tool) {
super(mat, name, tab, hardness, resistance, harvest, tool);
}
|
This will set the material, name, tab, hardness, resistance, harvest level, and harvest tool, of our block automatically. It looks much cleaner than manually adding them in every class.
Next is registering and rendering the block. We need to register the block and item block at the same time. We need to register the item block with the same registry name as the block so that they are registered as the same thing, otherwise it won't work. We are using
"item.getRegistryName()" in our registerRender, which is set by registering the item block with the same registry name as our block.
1
2
3
4
5
6
7
8
| public static void register(){
GameRegistry.register(tutBlock);
GameRegistry.register(ibTutBlock, tutBlock.getRegistryName());
}
public static void registerRenders(){
registerRender(tutBlock);
}
|
The second parameter of the
register method is the name set for that object.
We are ready to get into models, blockstates, and texturing. In our
"assets.tut" package, we need to create a package called
"blockstates". We need to go find the blockstates file for
"diamond_ore.json", in
Referenced Libraries > forgeSrc > assets > minecraft > blockstates. Look for
"diamond_ore.json" and copy the code within it. We will create an Untitled Text File for our new blockstates JSON file. Name it after your block's registry name, in this case it is
"tut_block". Rename the model reference to
"tut:tut_block".
1
2
3
4
5
| {
"variants": {
"normal": { "model": "tut:tut_block" }
}
}
|
Blockstates is the state of the block model. Some blocks use a blockstates JSON file that specifies what model to use depending on which way it is facing. For example: furnaces use a blockstate that states that depending on which way the player is facing, it will
rotate the model so that a specific side is facing towards the player.
Next we need to create the block model in our
"assets.tut.models.block". This is where we will specify what the block looks like and what texture to use. We will steal from
"assets.minecraft.models.block.diamond_ore.json". Change the texture name to your texture location.
1
2
3
4
5
6
| {
"parent": "block/cube_all",
"textures": {
"all": "tut:blocks/tut_block"
}
}
|
This is using the parent of
"block/cube_all" which is a generic block model.
"'textures':{" points towards the texture that will be rendered. When we get into multi-textured blocks, we will discuss this more but just know that
"all" specifies ALL the sides of the block.
Next is the item block model. Let's steal from
"assets.minecraft.models.item.diamond_ore.json" as well.
1
2
3
| {
"parent": "tut:block/tut_block"
}
|
This model specifies that we want to render the model just like the block model, but in our inventory.
Now
create your texture and place it in
"assets.tut.textures.blocks". We need to call the
init, registry, and registerRenders methods in our proxies.
ClientProxy:
1
2
3
4
| public void init() {
ItemHandler.registerRenders();
BlockHandler.registerRenders();
}
|
CommonProxy:
1
2
3
4
5
6
7
| public void preInit() {
ItemHandler.init();
ItemHandler.register();
BlockHandler.init();
BlockHandler.register();
}
|
Now we can run the game and test out our newly created block.
=======================================Block Properties=================================
Dropping an Item:
To drop an item from the block we will need to go into our block class and override a method from the Block class called "getItemDropped()".
TIP: You can use CTRL+SPACE to view a list of methods to override from the superclass!!!
We need to return an item. So in our method we need to return ItemHandler.tut_item.
1
2
3
| public Item getItemDropped(IBlockState state, Random rand, int fortune) {
return ItemHandler.tutItem;
}
|
This will make the block drop our item that we created earlier.
Quantity Dropped
We will need to override a method that will allow us to specify a specific amount of items dropped. This method is called quantityDropped(). It is of the type int, so it will need to return an integer. Return whatever number you wanna return. I am gonna be doing a random number between 1 and 5, so here is my code:
1
2
3
| public int quantityDropped(IBlockState state, int fortune, Random random) {
return random.nextInt(5) + 1;
}
|
"return random.nextInt(5)" generates a random number between 0 and 4, So we must add
"+ 1" to our code so that it generates number between
1 and 5.
Multiple Items Dropped
If you want to have your block drop multiple items, you must create a variable to hold the random number. We will call it "chance". We will make it be a random number between 0 and 1. We will also check if the number is a certain number and make it return the item we want it to drop.
1
2
3
4
5
6
7
8
9
10
11
| public Item getItemDropped(IBlockState state, Random rand, int fortune) {
int chance = rand.nextInt(2);
if(chance == 0){
return ItemHandler.tutItem;
}
if(chance == 1){
return Items.DIAMOND;
}
return ItemHandler.tutItem;
}
|
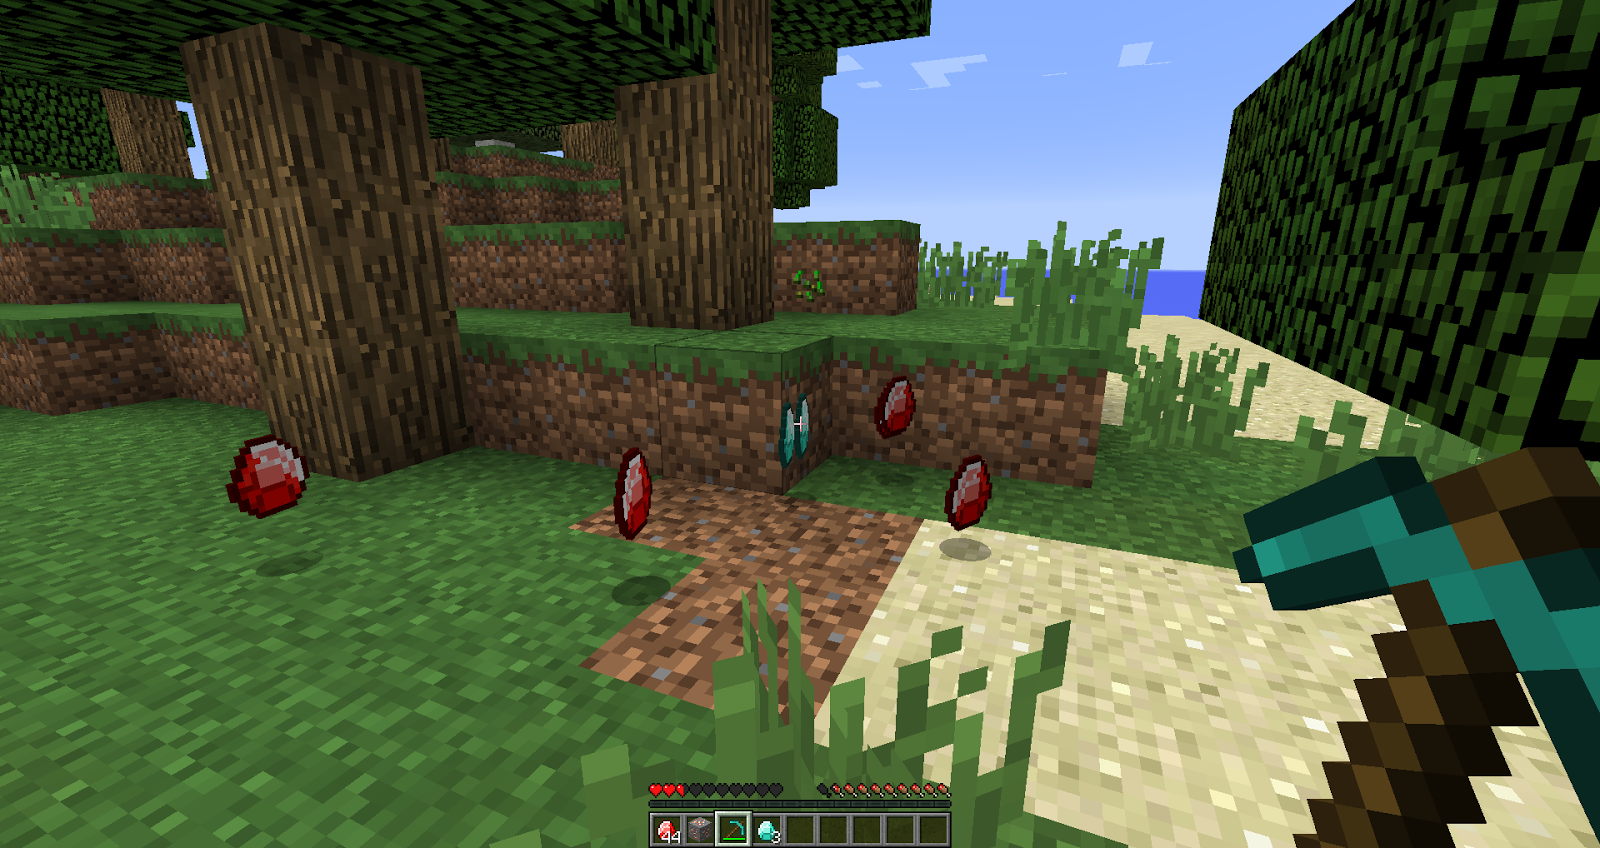
The end result is this:


